Shopify Size Conversion: 5 Measurement Steps for Dropshippers
Convert supplier measurements into consistent Shopify sizes with measurement standards, normalized variants, and bulk CSV or API imports for dropshippers.
Shopify Size Conversion: 5 Measurement Steps for Dropshippers
The fastest way to avoid returns and fragmented inventory is simple: convert supplier garment measurements into body-measurement ranges, pick one sizing system for your store, and normalise every value before you import. Skip this and you risk mismatched Shopify variants, confused customers, and exposure under labelling rules that make you responsible for what your size labels claim.
TL;DR:
- Collect garment and body measurements, units, and measurement methods; use chest or bust for tops, hips and inseam for trousers, and foot length for shoes.
- Adjust garment measurements for fit allowance, map ranges to store sizes, and keep a separate conversion table for each supplier, validated against a physical sample.
- Shopify permits three options and 100 variants per product; use a canonical size system, consistent option spelling, and save supplier sizes as tags or metafields.
- Test a 20 to 30 SKU pilot with correctly encoded CSV or API data, then check fit, variant counts, and SKU uniqueness before scaling.
- Merchants remain responsible for misleading size claims, so publish body measurement ranges and simple measuring instructions rather than relying on letter sizes alone.
Table of Contents
- Why size conversion must be measurement-led, not label-led
- Establish a measurement baseline before you convert anything
- Step-by-step conversion: map supplier sizes to your store buckets
- Normalise sizes so Shopify variants stay manageable
- Bulk workflows: CSV and API practice for mass conversion
- Verify fit, label clearly, and keep returns down
- A quick checklist you can follow or hand to an assistant
- Common pitfalls at scale and why documentation wins
- How EcomEye fits into a size conversion workflow
- FAQ
- Sources
Why size conversion must be measurement-led, not label-led
Treating a supplier’s “M” as equivalent to your own “M” is where most sizing problems start. International guidance on size designation, including the approach documented in the International Standard, bases sizing on body measurements rather than garment labels, because label names vary wildly between manufacturers and regions.
For dropshippers, assuming label equivalence produces inconsistent fit, a rise in returns, and listing disputes when a customer’s “usual size” doesn’t match what arrives. The International Standard treats conversion as a reconciliation of measurement systems, not a straight swap of letters or numbers.
There’s a compliance angle too. Sellers carry responsibility for accurate product representations, and FTC guidance on textile labelling makes clear that misleading size or content claims sit with the merchant, not the supplier.
Establish a measurement baseline before you convert anything
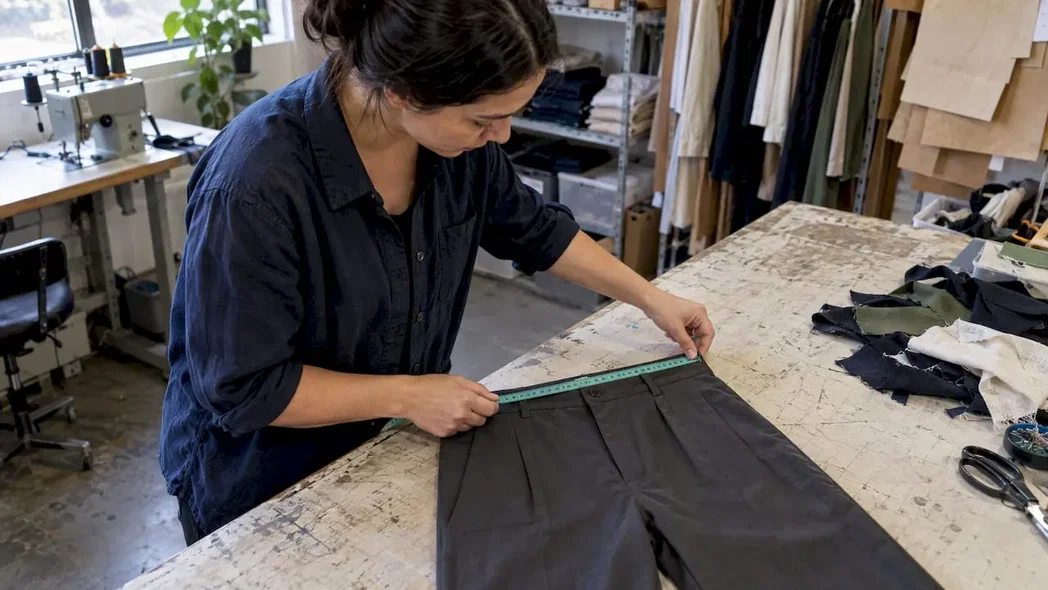
Before you convert a single SKU, collect consistent data from your supplier. Without this baseline, every conversion is a guess.
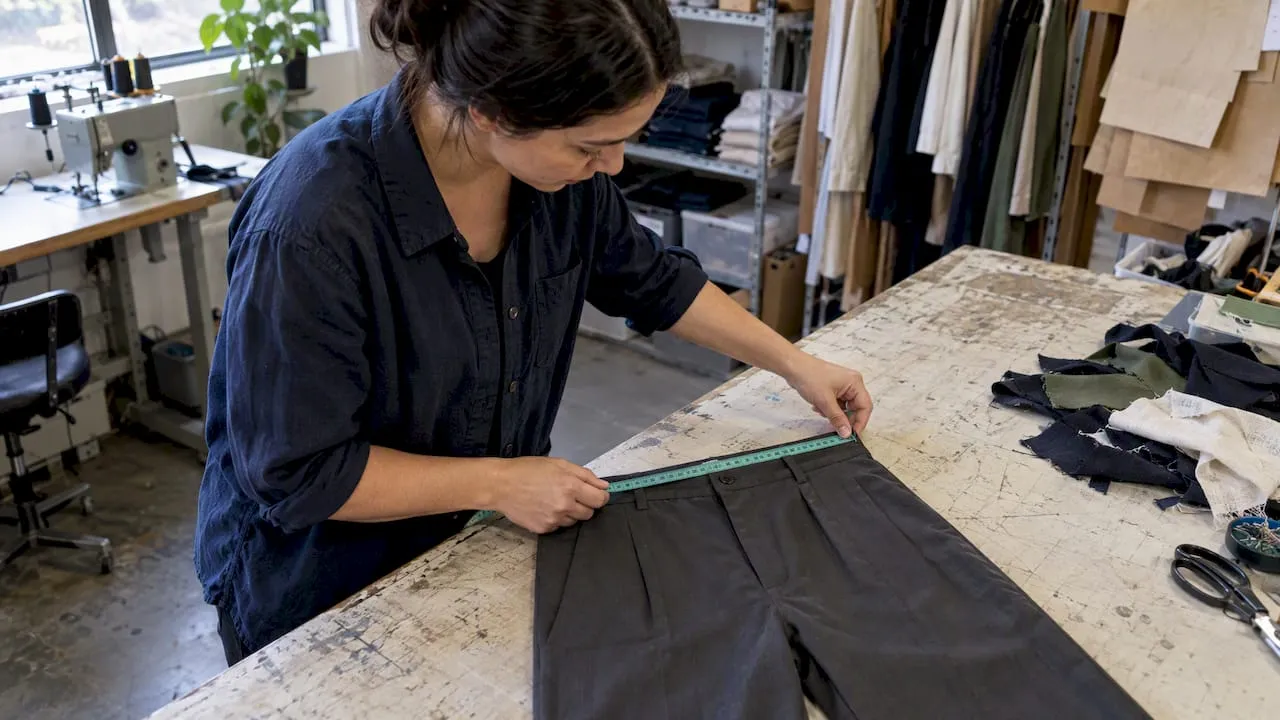
- Flat garment measurements (laid flat, unstretched) for each size the supplier offers.
- Any body measurements the supplier already publishes, plus their measurement method.
- The unit of measurement used and whether it was taken in centimetres or inches.
Different garment types need different primary dimensions. Use chest or bust for tops, hip and inside leg for trousers, and waist and hip for skirts, following the anthropometric categories set out in ISO 8559-1. For shoes, foot length in millimetres is the standard reference point.
Standardise on centimetres as your canonical unit across the store. Mixing centimetres and inches between suppliers is one of the most common causes of ambiguous conversions, and recording the measurement method (flat garment versus body cast) alongside the figure prevents disputes later when you’re trying to work out why a size range feels off.
Step-by-step conversion: map supplier sizes to your store buckets
Once you have a measurement baseline, follow a repeatable sequence for every supplier and product line.
- Capture the raw data: record the supplier’s measurements exactly as given, noting units and method.
- Decide the ease allowance: garment measurements are rarely identical to body measurements, so subtract or add the fit allowance typical for that garment type before estimating body size.
- Assign ranges using ISO/EN examples: use published anthropometric tables as a starting point for mapping measured values to your store’s size labels, whether numeric or lettered.
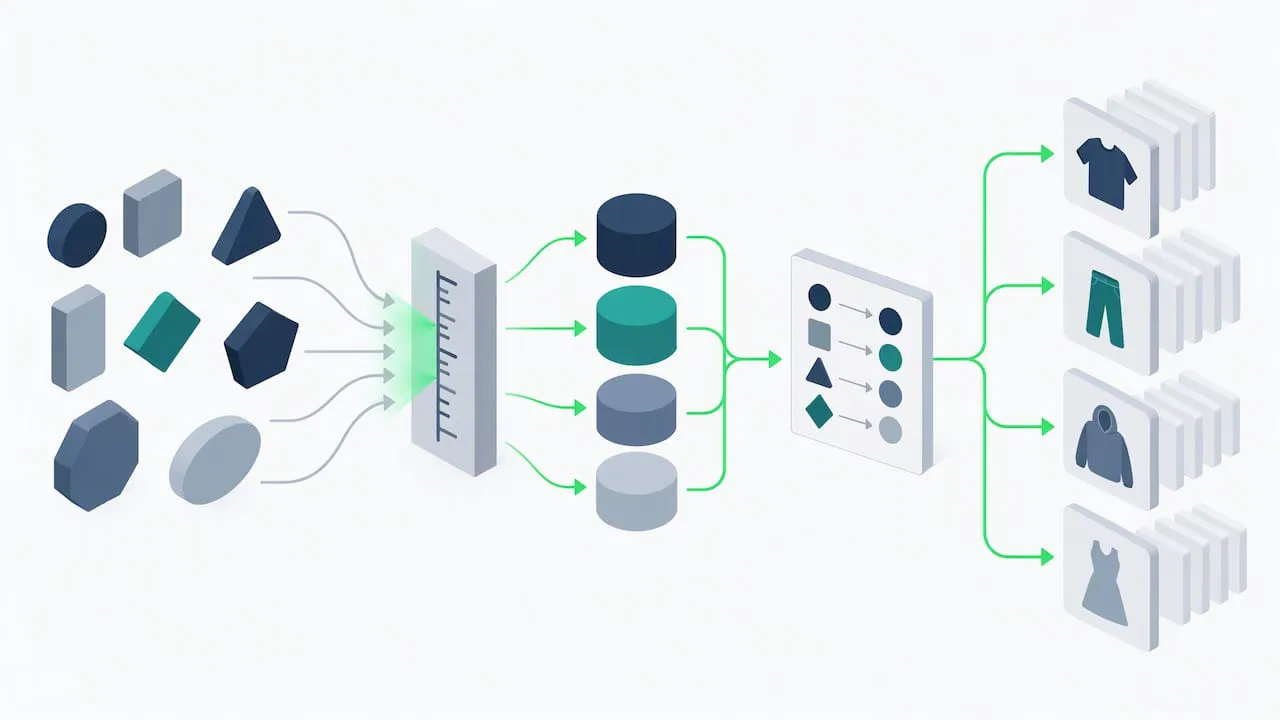
- Build a supplier-specific conversion table: map supplier size to measured value to your store size bucket, and store it alongside the SKU so it’s reusable for reorders.
- Sample-check physically: order a sample where possible, measure it against your assigned bucket, and revise the range if the fit diverges.
Pro Tip: Keep one conversion table per supplier rather than one global table. Suppliers rarely cut to the same ease allowance, even within the same country.
This sequence turns a one-off guess into a document you can reuse every time that supplier adds a new product, which matters once you’re importing dozens of SKUs a week.
Normalise sizes so Shopify variants stay manageable
Shopify caps products at three options and 100 variants, and the platform’s own guidance on adding variants recommends avoiding over-varianting. Translating every supplier size literally (keeping “EU 38”, “UK 10” and “US 6” as separate option values) multiplies variants and fragments inventory across what should be a single stock-keeping unit.
A few tactics keep this under control:
- Pick one canonical size system per product and convert everything into it before import.
- Use identical spelling and capitalisation for option values across your whole catalogue; “Medium” and “medium” register as different options.
- Store the original supplier size as a metafield or tag rather than a separate variant option.
- Group adjacent sizes (such as XS-S or M-L) only when your fit tolerance genuinely supports treating them as one bucket.
When you update variants at scale, use the Admin API or well-formed CSV files so option values match existing store conventions exactly. Shopify’s developer documentation on updating product data is the reference point for getting option IDs and names to line up without creating accidental duplicates.
Bulk workflows: CSV and API practice for mass conversion
Converting sizes one product at a time doesn’t scale. A disciplined bulk process does.
- Prepare your CSV in UTF-8: encoding mismatches are a common cause of corrupted characters on import, as Shopify’s troubleshooting guidance explains, so save every export in UTF-8 and standardise your column headers.
- Keep your conversion table in the file: include a dedicated column for the supplier’s original size alongside the converted value, and keep option spelling consistent to avoid duplicate variants.
- Use the API for large batches: reference option-value IDs directly and update in batches rather than one record at a time; a 20 to 30 SKU pilot before a full catalogue run catches mapping errors early.
- Check variant counts and SKU uniqueness after import: confirm inventory locations and that option names match what the storefront displays, fixing errors on the pilot batch rather than the whole catalogue.
Running a small pilot first, documented in more depth in our piece on clothing size conversion for dropshippers, is the cheapest insurance against a catalogue-wide fix later.
Verify fit, label clearly, and keep returns down
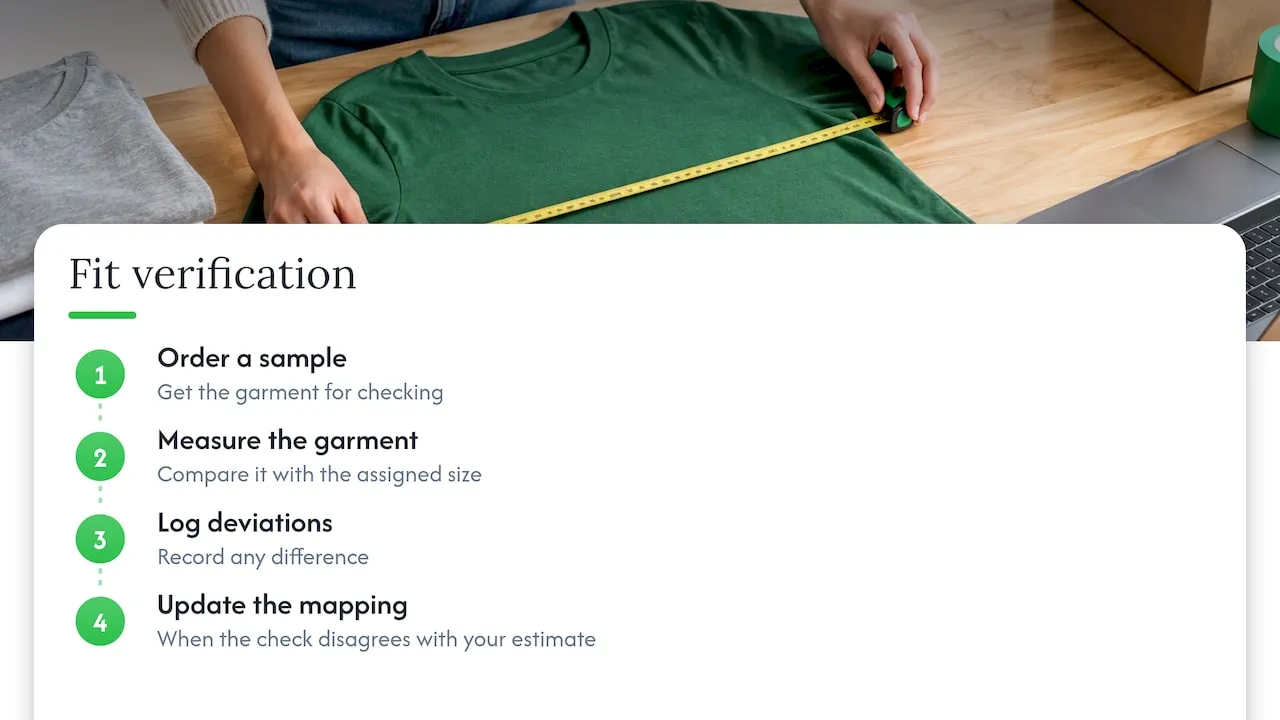
A conversion table is only as good as its last check against reality. Order a sample, measure the garment against the size you assigned it, and log any deviation. Update the mapping whenever the physical check disagrees with your estimate rather than waiting for a pattern of returns to tell you.
Publish body-measurement ranges on the product page itself, along with simple instructions for how to measure chest, waist or foot length, so customers can compare their own numbers rather than guessing from a letter size.
On the legal side: merchants remain responsible for accurate product representations, and size claims that mislead customers fall under the same FTC textile labelling guidance that governs care and fibre content labels. Treat your size chart with the same accuracy standard you’d apply to a fabric claim.
A quick checklist you can follow or hand to an assistant
| Step | Action |
|---|---|
| 1 | Collect supplier measurements in centimetres and note the measurement method |
| 2 | Build a supplier conversion table: supplier size, measured value, store size bucket |
| 3 | Normalise option names to match store conventions |
| 4 | Pilot 20 to 30 SKUs before full import |
| 5 | Import via UTF-8 CSV or API, then verify variant counts, SKUs and inventory locations |
| 6 | Log adjustments and save the supplier map for future reorders |
- Keep the conversion table attached to the SKU, not buried in a separate spreadsheet.
- Re-run the pilot check whenever a supplier changes their size specification.
Common pitfalls at scale and why documentation wins
In my experience reviewing Shopify catalogues, inconsistent option naming and untested bulk imports are the two faults that cause most inventory fragmentation. A product with “M” on one listing and “Medium” on another splits stock that should be unified.
A documented supplier-to-store conversion map, tested on a small pilot before a full import, removes the guesswork and scales without surprises.
— Koen
How EcomEye fits into a size conversion workflow
Building and maintaining supplier conversion tables by hand gets slow once you’re adding products daily. Our platform supports size-system conversion and bulk editing, alongside SEO-safe product content generated for each listing.
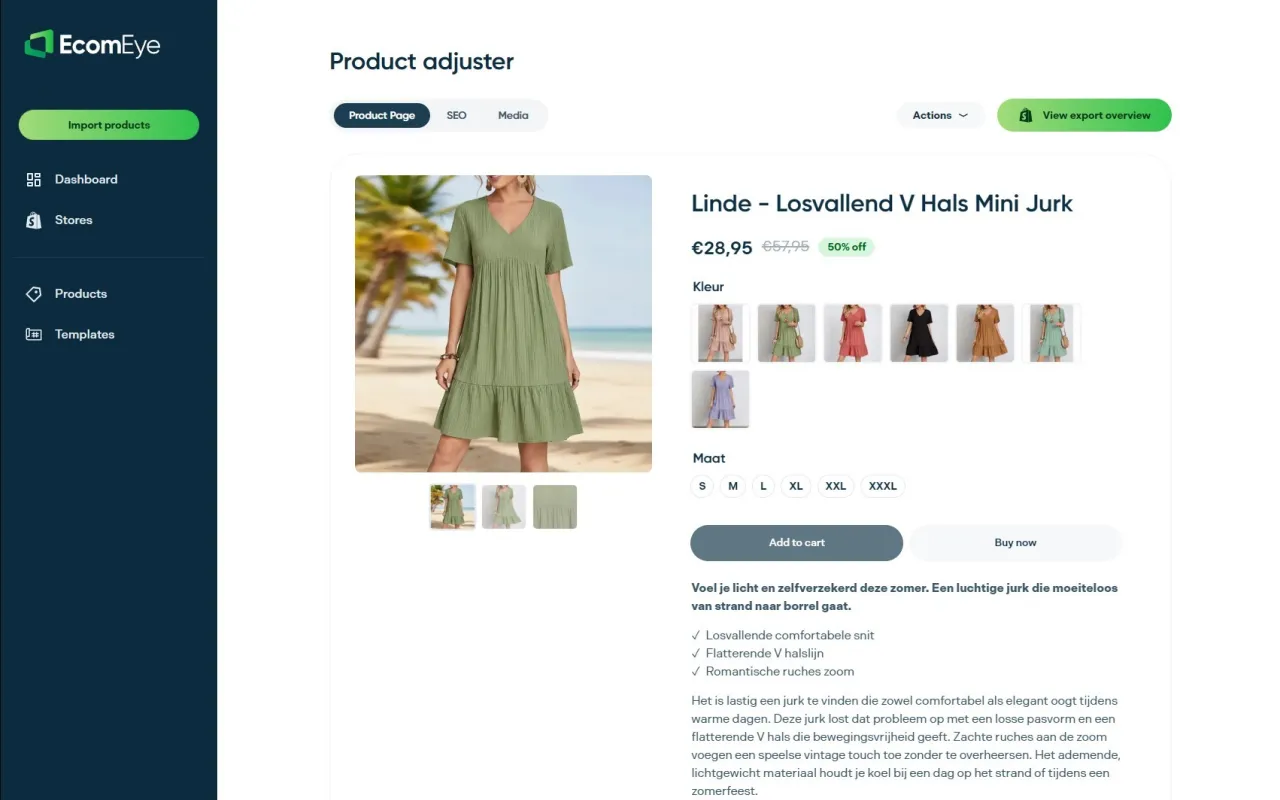
- Import product data in bulk from AliExpress, Amazon, Temu or competitor Shopify links.
- Generate unique titles, descriptions and AI product images alongside your converted size data.
- Export directly to Shopify in one click once sizing and content are normalised.
If you want to pilot this on a batch of products before committing to a full catalogue migration, current prices for our Try-out and Scaler plans are on our pricing page.
FAQ
What is the correct way to convert supplier sizes for Shopify?
Convert the supplier’s garment measurements into body-measurement ranges using an ISO/EN-based approach, then map those ranges to a single size system for your store rather than matching labels directly. Store the original supplier size as a tag or metafield so you can trace it back if a customer query arises.
How many size variants can a Shopify product have?
Shopify allows up to three options per product and a maximum of 100 variants, so converting every supplier size literally into separate options risks hitting that limit quickly. Normalising to one size system per product keeps variant counts manageable.
Why do my Shopify size variants keep getting duplicated during import?
Duplicate variants usually come from inconsistent option spelling, mismatched encoding, or option values that don’t match existing conventions in your store. Saving CSVs in UTF-8 and standardising option naming before import resolves most of these cases.
Am I legally responsible for size accuracy on my product listings?
Yes, sellers are responsible for accurate product representations, and FTC guidance treats misleading size claims the same way it treats other inaccurate labelling. Publishing body-measurement ranges rather than relying on letter sizes alone reduces this risk.
What is the best way to test a size conversion before importing a full catalogue?
Run a pilot of around 20 to 30 SKUs, verify variant counts and fit against a physical sample, then correct any mapping errors before importing the rest of the catalogue. This catches encoding or naming mistakes while the fix is still small.
Sources
Ready to boost your product pages?
Generate high-converting, SEO-optimized product pages in bulk using AI automation used by e-commerce experts.
No credit card required