Size System Mapping for Apparel: Convert Supplier Sizes to US
How to map supplier apparel sizes to clear US sizes on Shopify: collect measurements, build one chart per product, show both labels and keep it accurate.
Size System Mapping for Apparel: Convert Supplier Sizes to US
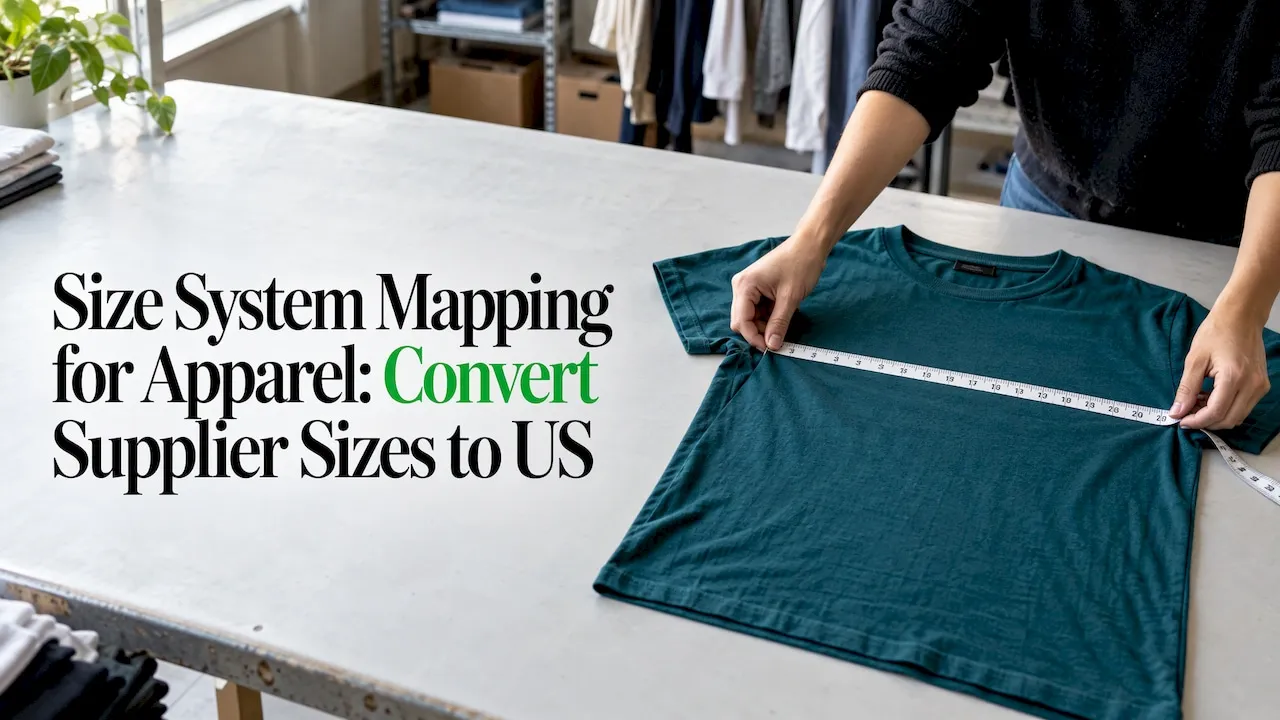
Size system mapping is the process of translating a supplier’s apparel sizes into information a US shopper can act on: the original label, the US size you sell it as, and the measurements behind both. Do it from measurements, never from labels, because there is no standard for apparel sizing in the United States and a supplier’s ‘XL’ is not a US XL. With a few hundred products, the only way to keep this consistent is to map once per product and push it to Shopify in bulk, which is how we built the size conversion in EcomEye.
TL;DR
- A size label is a brand’s own name for its own measurements, so equivalence exists between two specific charts, never between two label systems.
- Collect garment measurements for the exact product and variant, convert centimetres to inches (divide by 2.54), then assign the US label that fits those numbers.
- Show the original supplier label next to the US size, and keep body charts and garment charts clearly separate.
- When a measurement is missing, leave it blank rather than guessing, and hold the listing until you have the real number.
- Map per product in bulk, then re-check when a supplier updates a listing.
Table of Contents
- What size system mapping means for a US dropshipper
- Start from measurements, not labels
- Convert units correctly
- Body charts and garment charts answer different questions
- Assigning the US label
- Show both labels
- Putting the mapping on Shopify
- When the supplier chart is missing or wrong
- Keeping mappings accurate over time
- Doing it at catalogue scale
- Perspective
- Start mapping your catalogue
- FAQ
- Sources
What size system mapping means for a US dropshipper
Your supplier lists sizes in its own system: Asian letter sizes, EU numbers, centimetre-based tables or plain ‘one size’. Your customer in Ohio expects S, M, L or a numeric size that matches the clothes in their closet. Mapping is the bridge between the two, and it has four parts:
- The supplier’s original label, kept for reference and for order fulfilment.
- The measurements that label stands for on this specific garment.
- The US size label you assign based on those measurements.
- The fit notes a shopper needs to choose: stretch, cut, model height, intended fit.
The trap is treating the bridge as a lookup table. A general ‘Asian to US’ chart suggests that one size always equals another, but each supplier cuts differently. The trade association AAFA states that the US has no sizing standard for apparel or footwear, so even a genuine US label means different things across brands. Your job is to remove the guesswork for the shopper, not to pretend a standard exists.
Start from measurements, not labels
Every reliable mapping starts with numbers. An ‘XL’ on a supplier page tells you nothing until you see the chest width, length and shoulder it refers to. Two suppliers can both write XL and ship garments that differ by several centimetres.
For each product and each variant, ask the supplier for the garment measurement table. For tops and dresses, the useful points are:
- Chest or bust
- Shoulder width
- Sleeve length
- Waist
- Hip
- Total length
- Fabric stretch (none, slight, high)
For trousers and shorts add inseam and rise. For shoes, ask for inner foot length in centimetres or millimetres rather than a size number.
Two details save you from mistakes later. First, check whether the figures are flat measurements (taken across the garment laid flat) or circumference (doubled). A chest of 52 cm flat is a 104 cm circumference, and mixing the two puts your customers in the wrong size. Second, note the tolerance. Suppliers usually allow a margin of a centimetre or two, so a chart is a target, not a guarantee.
The measurements you are given must belong to the exact product you list. A chart pulled from a similar item or a marketplace default is how a ‘M’ ends up fitting like an ‘S’.
Convert units correctly
US shoppers read inches. Supplier tables are usually in centimetres. The conversion is simple: inches equal centimetres divided by 2.54. A 104 cm chest becomes 40.9 inches. The danger is not the maths, it is rounding inconsistently across thousands of cells. Pick one rule (for example, nearest half inch), apply it everywhere, and keep the centimetre values available as well. Shopify recommends offering a switch between inches and centimetres in size charts, which also helps if you later sell to other markets.
For a deeper walk-through of the measurement steps, see our guide to Shopify size conversion for dropshippers. Product weights and dimensions follow related rules, covered in Shopify measurement units.
Body charts and garment charts answer different questions
This is the most common source of confusion in apparel listings. A body chart says which body measurements a size is designed for: ‘size M suits a 38 to 40 inch chest’. A garment chart lists the finished dimensions of the clothing: ‘size M measures 42 inches across the chest’. The difference is the ease built into the cut.
Shopify’s guidance on size charts makes this distinction: body charts map sizes to body dimensions, while garment charts list finished specs, and they help shoppers in different ways. Suppliers almost always give you garment measurements. That is good news, because garment measurements are what you can verify, but it means you should label the table as garment measurements and not present it as body sizing.
A practical layout for a product page:
| Supplier label | Your US size | Chest (in) | Length (in) | Shoulder (in) | Stretch |
|---|---|---|---|---|---|
| M | S | 40.9 | 25.6 | 17.3 | None |
| L | M | 42.9 | 26.4 | 17.9 | None |
| XL | L | 44.9 | 27.2 | 18.5 | None |
The figures above are an illustration of the format, not a conversion to copy. The point is that a shopper sees the label, the size you sell it as, and the numbers, all in one row.
Assigning the US label
With measurements in inches, you decide which US size each variant becomes. Work in this order:
- Pick a reference. Decide what your store means by S, M and L, for example by comparing the garment’s chest and length with the size charts of mainstream US brands in the same category, or with your own measured samples.
- Match by garment type. A hoodie, a fitted tee and a dress have different ease. Map each type separately rather than using one chart for the whole catalogue.
- Allow for stretch. A high-stretch knit can be sold in a size closer to the body, while a rigid woven needs more room.
- Be honest about the result. If an ‘Asian XL’ measures like a US medium, sell it as a medium. A smaller number on the tag may flatter nobody and it drives returns.
This is also why mappings are approximate. The Nielsen Norman Group’s research on international size guides notes that sizing does not vary uniformly between brands, so conversions are estimates and the original size should stay visible. Treat any general conversion chart as a way to spot an obvious mismatch, and let the supplier’s own measurements decide.
Show both labels
Shoppers are comforted by seeing a familiar size, and by seeing the one printed on the tag. In the Nielsen Norman Group study, users on localised sites expect local sizes by default, and showing both the original label and the matching US size reduced confusion. One participant was reassured on a fashion retailer’s site that displayed both the EU label and the US size. The same research found three approaches that worked: a brand-specific size chart, body dimensions for each size, and product measurements for all sizes.
For a dropshipper, that translates into a simple rule: the variant picker shows the US size, the size chart shows the supplier label in a column beside it, and the measurements are listed for every size, not only a sample.
Putting the mapping on Shopify
There are three places the mapping can live, and a well-run store uses all three.
Variant names. The size option your customer clicks should be the US label. Keep the supplier’s label in a separate field or in the chart so that fulfilment can match the order to the supplier SKU.
The size chart. Shopify themes show charts as an image, a table inside the description, a linked page or a pop-up. Whichever method you use, the chart must correspond to the product. Where charts differ by variant (men’s and women’s cuts of the same item, for example), one documented approach is to assign each chart to the variants it applies to so the right one appears when the shopper picks a size. Our walkthrough on matching each product to its size chart goes through the setup.
Metafields. For data that repeats across hundreds of products, use metafields. Shopify store tooling guidance distinguishes product metafields for data shared across variants and variant metafields where variants differ, and suggests creating them accordingly before bulk updates. Chest width per size is a variant-level value; the fit note ‘runs small’ is a product-level value.
On the product page itself, large marketplaces give similar advice. Amazon’s seller training on reducing apparel returns recommends including body or foot measurements and fit details such as the manufacturer’s label size, the model’s measurements and a ‘runs small’ or ‘runs large’ note. The same material says correctly completed size data helps customers filter and buy with confidence, while incorrect sizes cause confusing conversions and poor fit.
When the supplier chart is missing or wrong
Expect this regularly. The chart is absent, the units are mixed, the numbers contradict the product photos, or one chart covers an entire category. A few rules keep you safe:
- Do not interpolate. If the hip measurement is missing for size L, do not average the neighbouring sizes. Leave it blank, ask the supplier, or leave the product unpublished until you have it.
- Order a sample for products that matter. Measure it flat with a tape, on the same points as the chart, and compare with the listing. A sample is the cheapest return-prevention you can buy for a bestseller.
- Flag contradictions. If the chest grows by 2 cm per size and then jumps by 6 cm, query it. Irregular steps usually mean a typo.
- Record the measuring method. Note whether it was flat or circumference and where on the garment it was taken, so the next person (or tool) interprets the numbers the same way.
A useful habit is a short QA pass before publishing: compare every value with your approved source, view the chart at a typical mobile width, check how it appears in the product page, quick view and any size guide pop-up, and, for translated stores, have a native reader check labels and fit notes in context, as one Shopify localisation guide suggests.
Keeping mappings accurate over time
Suppliers change patterns, swap factories and edit listings without notice. A mapping that was right in spring may be off by autumn. Build a light routine:
- Keep a record of the source figures for each product, with the date you captured them.
- Track returns tagged ‘size’ by product. A cluster on one item points to a bad mapping before it points to a bad customer.
- Re-check the supplier listing for your best sellers on a schedule, and re-measure when a new batch arrives.
- Update the chart and the variant labels together, never one without the other.
Start small if you are unsure. Our 50 to 200 SKU pilot for clothing size conversion shows how to test the process on a limited range before applying it to the whole catalogue, and our guide to size tables for dropshippers covers table design.
Doing it at catalogue scale
Everything above is manageable for 20 products. At 500 it is a full-time job: opening each supplier page, copying the table, converting units, renaming variants, rebuilding the chart and keeping it consistent. This is the work the size conversion in EcomEye is built to take on. You import products from AliExpress, Amazon, Temu or competitor Shopify links, use the built-in size system conversion together with bulk editing and templates, and export to Shopify in one click, with titles, descriptions and images generated alongside.
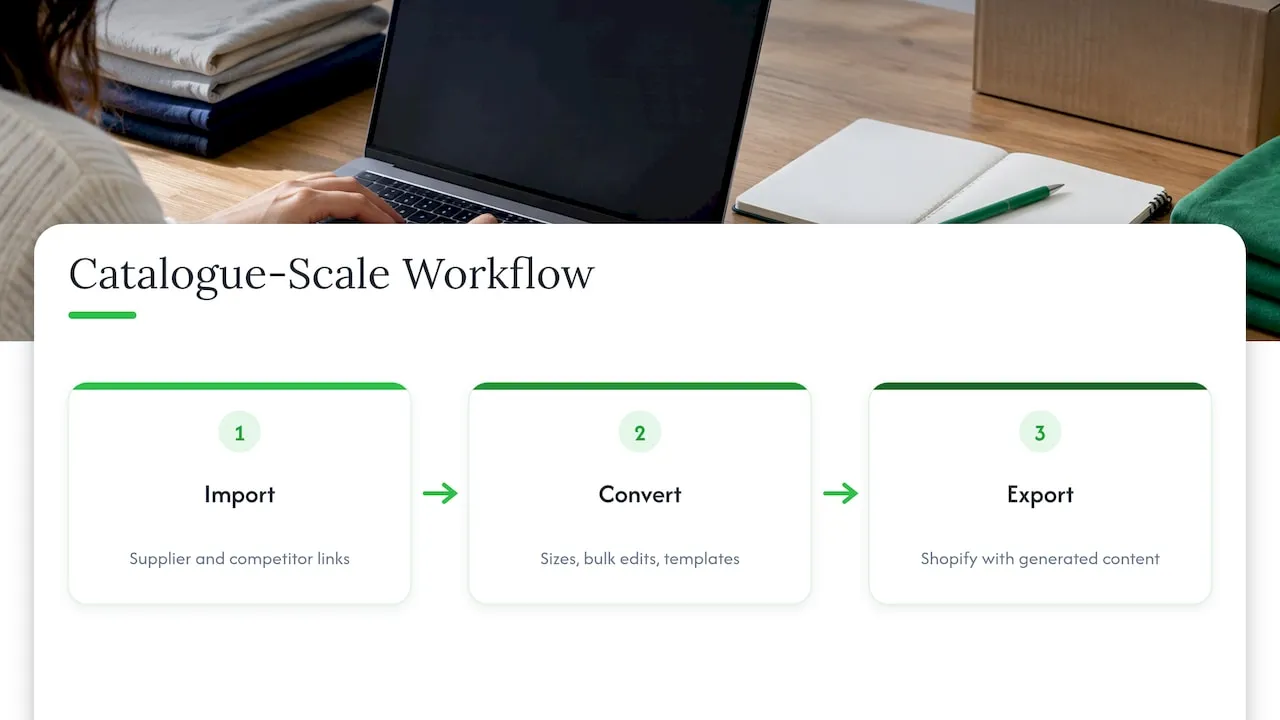
The discipline still matters: you decide your reference sizes, you verify the products that carry your revenue, and you leave unknown measurements unknown. Bulk tooling means you make each decision once instead of five hundred times.
Perspective
Most size problems we see described by dropshippers are not conversion problems, they are data problems. The label was never the information. The measurements were.
That is why we treat size system conversion as one step in building a complete product page, not a separate chore. A listing that has unique copy, clean images and a correct size table is a page a shopper can trust and Google Merchant Center can process. A listing with a copied description and a guessed size chart is the opposite on both counts.
Our view: map from measurements, show both labels, convert in bulk, and keep humans in charge of the decisions that carry risk. Tools should remove the repetition, not the judgement.
Koen
Start mapping your catalogue
If you list apparel in volume, the fastest route is to run your import, size conversion and page generation in one workflow. EcomEye’s Try-out plan is €39 per month and the Scaler plan is €99 per month, with the details on the pricing page.
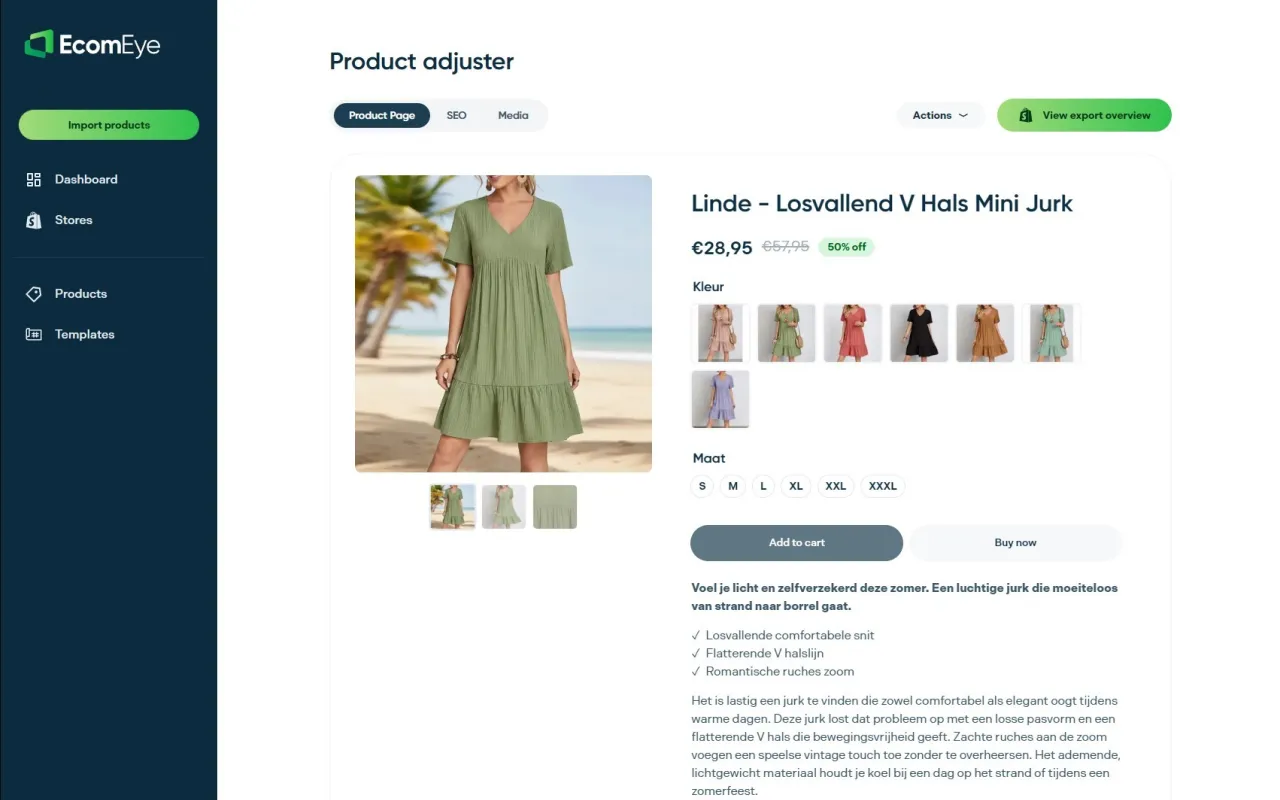
To see what the generated pages look like, try the AI product description generator or the AI product image generator.
FAQ
Can I use a generic Asian-to-US size chart for all my products?
No. Suppliers cut differently, so the same label can be several centimetres apart between two products. Use a general chart only to notice an obvious mismatch, then rely on the garment measurements for the exact product and variant.
Should I show the supplier’s size label to US customers?
Yes, alongside the US size. Research from the Nielsen Norman Group found that showing both the original and the local size reduces confusion. Keep the US size as the default in the variant picker and put the original label in the chart.
How do I convert centimetres to inches?
Divide the centimetre value by 2.54. For example, 104 cm is about 40.9 inches. Choose one rounding rule, such as the nearest half inch, and apply it to every chart so your store is consistent.
What should I do when a supplier does not give a full measurement table?
Do not estimate the missing numbers. Ask the supplier for the table for that exact variant, or order a sample and measure it yourself. Until you have real figures, hold the listing back, since guessed figures lead to wrong-size returns.
Do I need a separate size chart for each product?
For apparel, yes in practice. Charts should match the product type and the supplier’s cut. Shopify setups let you assign charts to specific products or variants, and a bulk workflow lets you do this once per product rather than by hand each time.
Sources
- AAFA: Is there a standard for sizing in the United States?
- Nielsen Norman Group: Size Guides and Product Measurements for International Ecommerce
- Shopify: Sizing Charts, how to make a size chart for your retail store
- Amazon: Best Practices to Reduce Customer Returns in Apparel and Footwear
- ReadyToShip: How to add metafields to your Shopify store
- Craftshift: How to show a different size chart per Shopify variant
- Newcraft: How to translate size chart images in Shopify stores